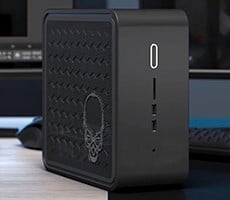
Shuttle SDXi Barebones System
|
|
|
Breaking down the case is pretty straight forward. First, four screws are removed from the rear of the XPC and the flame adorned cover slides back and off quite easily. Next, a support bracket straddling the drive cage is lifted out after removing four more screws. The drive cage itself also comes out relatively easily by sliding it back and then lifting it out, exposing the mainboard. Once removed, the hard drives can be mounted outside of the case and then slipped into position.
;)
;)
;)
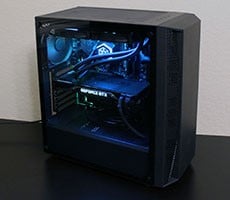
The processor can be put into position and then the custom Shuttle ICE Heat Pipe cooler gets secured with four spring loaded screws at the base of the sink. The memory can be installed at any time as side access makes for easy installation. Up to two PCI Express graphics cards can be installed; in a dual card configuration 8 PCI Express lanes are routed to each card, when a single card is used it gets full or PCI Express x16 connectivity.
;)
;)
;)
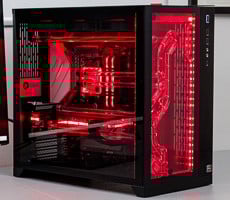
Most likely, Radeon based card(s) will be installed since this unit comes with a custom VGA waterblock designed for the Radeon X1950 Pro.
;)
;)
;)
Once the hardware is in position, the hard drive(s) and optical drive can be connected to the mainboard's SATA and IDE ports and then connected to the unit's 400w power supply unit. For improved airflow, there is a side mounted fan that works in concert with the CPU fan and PSU rear exhaust to maintain a steady flow of air from the front to the rear, dumping warmed air out the rear of the case.