Huawei Mate 10 Pro Review: Impressive Camera, Battery Life And A Funky UI
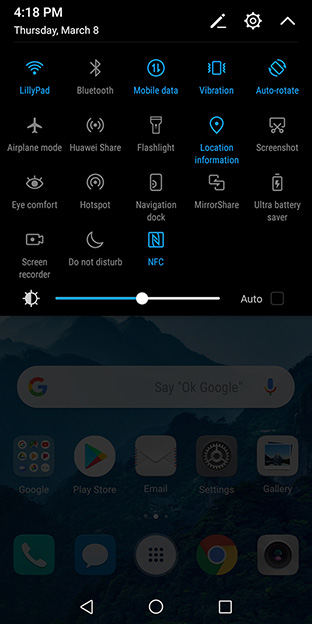
So what' the deal with EMUI 8.0? Well, if you are coming from an iPhone and have limited experience with Android, you might feel right at home here. Like previous versions of this skin, version 8.0 has a sort of iOS feel to it. Beyond the look and feel, there are some nice elements to EMUI, like being able to select multiple apps at once to drop into a folder rather than one-by-one. There are also some handy gestures. For example, you can double-tap the screen with your knuckle to take a screenshot, and even drag your knuckle on the second tap to select a specific area.
If you take the time to learn the nuances of EMUI, you will have a better appreciation of what it offers. At the same time, mimicking the look of iOS probably isn't going to win over any Android purists. There is also a learning curve, even for basic features. Unlike most Android devices, always-on display notifications is not enabled by default. The setting is found deep in Settings > Security & Privacy > Screen lock & passwords > Always display information.
While users might be split on the form and function of the Mate 10 Pro, performance is another story. The Kirin 970 engine provides plenty of mobile torque, resulting in a responsive handset with fast and smooth transitions when navigating the menus.
Huawei Mate 10 Pro Sample Camera Shots
One of the strongest elements of the Mate 10 Pro is its camera performance. It sports a dual lens array on the rear, consisting of a 20-megapixel monochrome sensor and a 12-megapixel RGB sensor, both from Leica and both with an f/1.6 aperture. This is also one area where the neural processing unit comes into play. The Mate 10 Pro uses AI for real-time scene and object recognition, and to automatically adjust various settings accordingly.If you are into depth-of-field (DOF) photography, the Mate 10 Pro will not disappoint. Here are some examples that highlight the phone's Bokeh effect capabilities:
The Mate 10 Pro does an outstanding job of focusing on the subject and lightly blurring out the background. It is also capable of taking nice looking photos in less than ideal lighting conditions. That is something that many phones struggle with—all too often, indoor photos contain a lot of noise. The Mate 10 Pro with its f/1.6 aperture was able to capture a good amount of detail indoors. Here are some examples:
The Mate 10 Pro also does a great job with outdoor photography, producing colorful pictures that pop. Here are a few examples:
In our hands-on time with the Mate 10 Pro, it really doesn't seem to matter all that much what the lighting conditions are like. Obviously better lighting results in better looking shots, but the Mate 10 Pro is able to compensate for darker and brighter environments with the proper exposure and relatively low noise in low light settings. Auto mode shooting is pretty fantastic with this phone.
With all this photographic muscle also comes a robust selection of settings and modes. This is both a blessing and a curse. Advanced photographers will appreciate the level of control that the Mate 10 Pro allows, with more than a few knobs and dials to adjust. But on the flip side, casual picture takers may feel a bit overwhelmed by some of the setting choices. It feels like Huawei was a bit too ambitious in looking to reinvent the camera menu rather than sticking with Android's stock setup. That said, less experienced users can certainly ignore all the options and just start snapping pictures.


