Building Your Own DIY Surveillance System With Synology DiskStation
Synology was founded in the year 2000 in Tapei, Taiwan targeting centralized data storage and back-up. In 2004 the company launched its first NAS, the DS-101. Over the next few years, the company opened branches in the United States, the United Kingdom, France, and China and continued to released various iterations of the DiskStation. In 2009, the company also released their first surveillance system. Today, Synology has multiple branches in various countries, and numerous versions of their DiskStation and related products.
In this how-to guide of sorts, we will use the DiskStation DS416j to create our own personal surveillance system with video recording capabilities. The DS416j is equipped with a dual-core 1.3 GHz CPU and 512MB of DDR3 RAM. It features 4 drive bays and has a maximum supported storage capacity of 40 TB with the current firmware. For full specs, check out the table below.
For our set-up we used two Seagate 2 TB drives in RAID1, but many RAID modes are supported. Every Synology NAS can also link to two cameras for free. Additional cameras will require a license at $50 USD per camera, however. The Surveillance Station software used in this how-to is also free to users.
|
| CPU | Dual-core 1.3 GHz Marvell Armada 388 88F6828 |
| Memory |
512MB RAM |
| Storage | 4 Drive Bays |
| Compatible Drive Type |
3.5" SATA III/ SATA II HD 2.5" SATA III/ SATA II HD 2.5" SATA III/ SATA II SSD |
| Maximum Internal Raw Capacity | 40 TB (10 TB HDD x 4) |
| Size | 184 x 168 x 230 mm 2.21 kg |
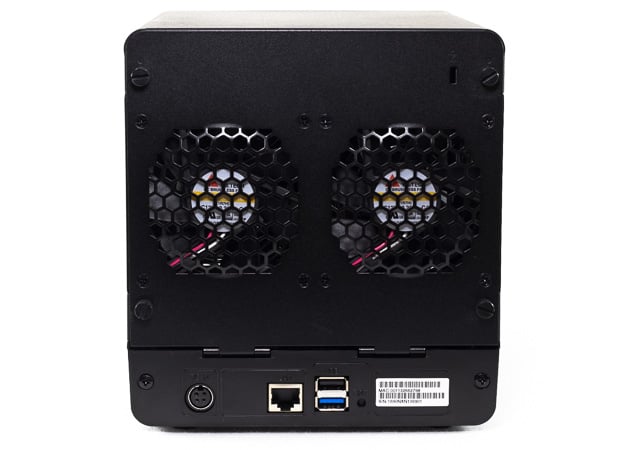
| External Ports | 1 USB 2.0 and 1 USB 3.0 |
| Noise Level | 19.1 dB (A) |
| Power Consumption |
21.6 W (Access) 12.75 W (HDD Hibernation) |
| Warranty | 2 years |
| Pricing |
Starting at $289 USD |
For this project we used the following components:
- Synology DiskStation DS416j
- Seagate 2TB SATA Hard Drives
- Alternative WD Red NAS Drives
- Amcrest IP2M-841 ProHD 1080P (1920TVL) Wireless WiFi IP Camera, Black
- Screwdriver and/or drill for mounting camera
First, we will walk you the Synology DiskStation DS416j's setup. Then, we will examine how to connect and configure your chosen cameras to the DiskStation. Finally, we will offer our own review of the product and process of creating our own surveillance system.


