Watch A Repair Tech Precision Drill Into An MSI Radeon RX 6900 XT To Fix It
Repair videos on YouTube can be quite addictive, but for the PC hardware enthusiast, there are some particularly moreish videos combining repairs and PCs or components. KrisFix has carved a particular niche here, and also has particular interest and skills related to AMD Radeon graphics cards. Evidence of this is provided by two Hot Hardware news stories (make it three now) looking at Radeon RX failures after a driver update in January, and the more general issues which can be precipitated by GPU sag.
Circling back to the new video, and it starts with KrisFix explaining how he deduced the MSI Radeon RX 6900 XT on his test bench had a very particular problem. It is a rare-ish issue, he said, but he had seen it before and had a fix which he thought viewers would be interested in.
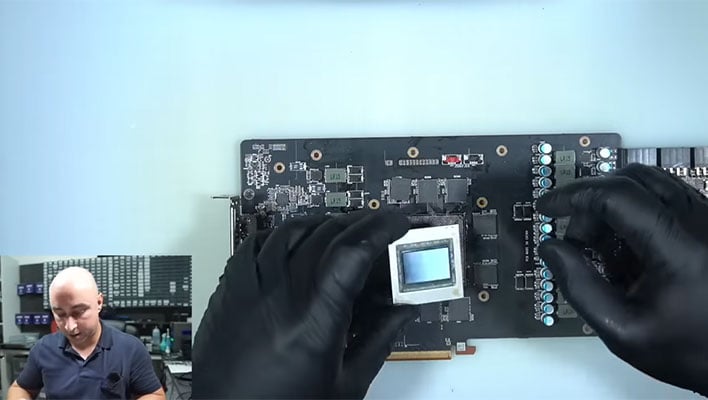
After a pre-amble about VRAM chip banks and desoldering, KrisFix zeroed in on the problem with this previous gen but still powerful and desirable graphics card model. This was a “worst case” repair, he said, as he thought there was a broken connection within the many layered PCB. In essence, the problem is claimed to be that one of the tiny vias under the removed VRAM chip has a broken connection with one of the tiny vias under the removed GPU, apparently 13 layers deep in the PCB. The fix needs to be extremely accurate and fine, so that it can be completed and the removed chips resoldered without issue.

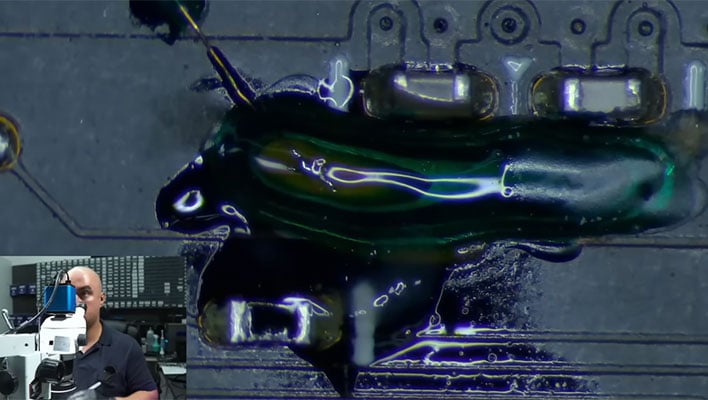
KrisFix begins his extraordinary repair work by hand-drilling a via, which will be under the GPU when the fix is complete. The drilling is done at a precise point, between other delicate connections, to a precise depth. Once drilling is complete a very fine wire is passed through the via and soldered to one of the GPU pads.
The next step called upon KrisFix’s extensive experience. He had to grind into the other side of the graphics card PCB to three layers deep to find a metallic trace at a precise point. To this point the GPU pad wire would be soldered to reconnect to the VRAM. Some collateral damage occurred during the milling down to layer 3, but KrisFix stated that it was easy to fix up after he had done the key trace repair, and it was “the only way to go.”

After this feat in detection, milling and soldering was complete, all that remained was to reattach the GPU and VRAM which had been removed to facilitate the repair. At the end of the video KrisFix demonstrated the fixed graphics card worked, with a feed of the graphics out. However, thorough testing of the graphics card features, capabilities and reliability would be done by another technician.

