NASA Guide To Phone Astrophotography Shows How To Capture The Northern Lights
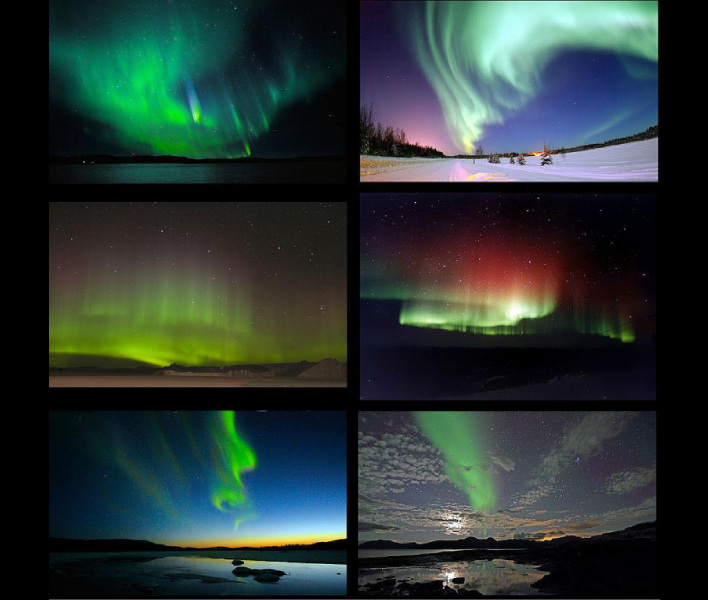
To better understand how to capture images of the Aurora, one first needs to understand what those dancing lights are. The aurora is caused by energetic particles that strike the nitrogen and oxygen atoms in the upper atmosphere above an altitude of 100km. Oxygen atoms at that altitude emit a bright green color, while nitrogen atoms above 400km deliver a deep blue-purple glow. At altitudes from 200 to 300km, oxygen atoms emit a red tone, but are typically faint due to the low density of oxygen at these altitudes.
Auroras stem from CMEs (Coronal Mass Ejections) emitted from the Sun, resulting in solar storms like the ones that hit Earth Friday and Saturday night. NASA satellites monitor the sun for these types of events, and when spotted, can provide advanced notice when one is headed Earth’s way. An excellent resource to monitor when an aurora might be possible is NOAA’s Space Weather Prediction Center website. There are also phone apps that can show the probability of an aurora and notify someone when one might be occurring in real time, such as My Aurora Forecast & Alerts.
How To Photograph The Aurora
Now, how to photograph an aurora with a smartphone or a traditional digital camera. First, find a location as far away from any city light pollution as possible. While some smartphones these days have a night mode, and can take decent aurora images without having to tinker with settings, many do not. For those that struggle with capturing good images, first, make sure to have a camera app with manual settings.These next steps will apply to both smartphones and traditional digital cameras. Begin with setting the exposure near 10 seconds and ISO at about 800 (approximately 2 - 3 stops above your camera's base ISO). If the image is not exposed well, you'll have to manually adjust your shutter speed and ISO up or down as needed. If more than a 10 second exposure is needed, the third-party app Northern Lights Photo Taker can provide longer exposures. Try messing with exposure time before tinkering with ISO, becuase higher ISOs typically result in noisier images.

Another necessity for taking great aurora images is a tripod. It is extremely difficult, if not impossible, to hold a camera steady for 10 seconds or longer. Any movement will cause blurring, and essentially ruin the shot. Having the smartphone or digital camera on a tripod will keep it steady throughout.
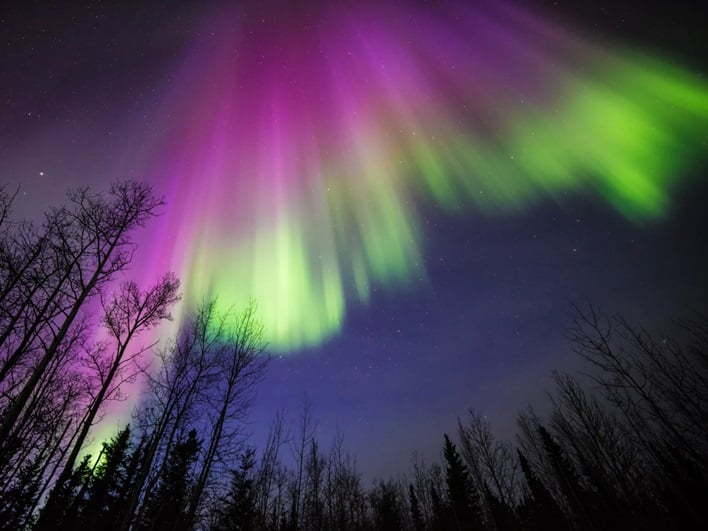
Finally, don’t be afraid to experiment and try different things. While an image of just the aurora can be beautiful, having a tree line or building in the shot can give it depth and add a bit of flavor. For those who want to go further than just taking images of the aurora, a guide to astrophotography can be found online here.


