How To Install Apple's macOS Big Sur Public Beta On Your Mac Right Now
Like the iOS and iPadOS betas, Apple makes it relatively simple for you to install the public beta of Big Sur onto your Mac. The first step, of course, is to visit the Apple Beta Software Program website. If you haven’t already registered as a tester, you can use the site to do so. Once registered, you’ll need to login, after which you’ll be directed to enroll your Mac computer into the Big Sur beta.

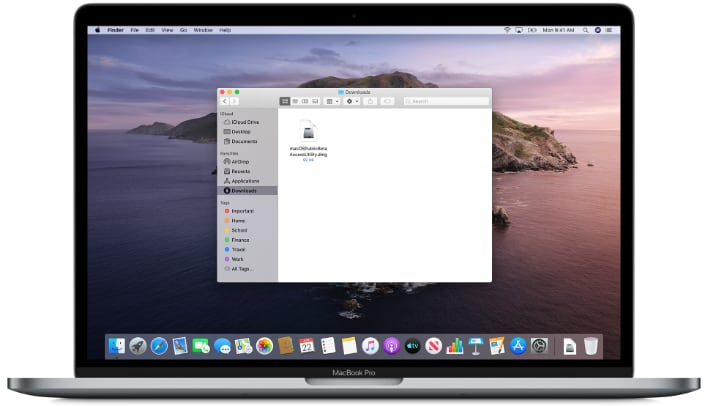
Apple of course provides plenty of warning that this is test software and that data loss could possibly happen, cautioning users to perform a Time Machine Backup – but you of course already know that and are willing to take the chance, or you wouldn’t be reading this article, right? The next step is to download the macOS Public Beta Access Utility. This is small installer that you’ll need to run, which inserts hooks into macOS to access Apple’s Big Sur beta servers in Software Update.
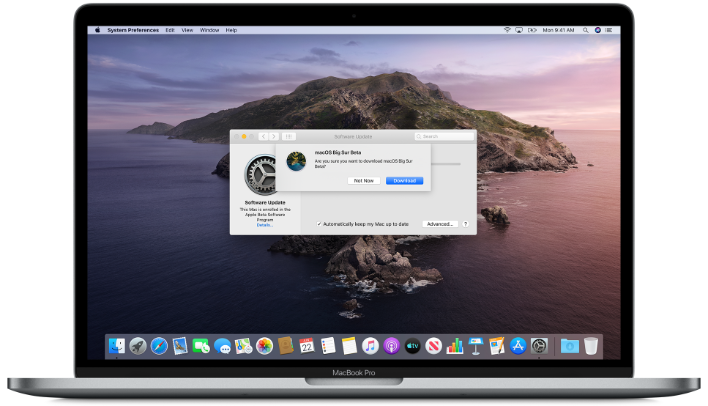
From there, it’s as simple as going to Settings --> Software Update and allowing the operating system to fetch the Big Sur public beta. The Big Sur public beta installer will download, and after a few restarts, you should be up in running.

Big Sur represents a huge overhaul for the design aesthetic of macOS, and includes a revamp of all major app icons and the first appearance of Control Center (which was brought over from iOS/iPadOS). Control Center gives you quick access to Bluetooth, Wi-Fi, Brightness, Sound, and AirDrop settings (among other things). There's also a new Notification Center, more robust Battery Health functionality for conditioning your MacBook's battery, a new version of the Safari web browser that is both faster and included built-in translation, and a new Messages app that finally brings feature parity with its iOS/iPadOS counterparts.
Most importantly, however, is that Big Sur is the first macOS release that will support Apple's unreleased Macs using custom Arm-based Apple Silicon.


