Corsair SP2500 2.1 Speaker System and HS1A Headset
Setup and Configuration
Inside the Corsair SP2500 box, users will find a large subwoofer, a pair of satellites, two small stands to help angle the satellite speakers up or down depending on their location, a control pod, and all if the necessary wiring to get the speaker system connected and running.
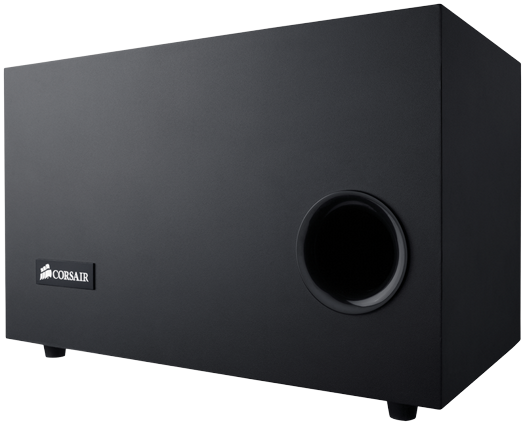
Corsair SP2500 Fouth-Order Bandpass Subwoofer
Because the Corsair SP2500 2.1 speaker system uses a standard analog connection to a PC’s sound card or integrated audio controller, installing the system couldn’t be an easier. A single 3.5mm stereo to dual RCA cable plugs into the PC’s output and then into the left and right channel inputs on the subwoofer. Then the satellites need to be connected to the sub along with the control pod, and then the sub needs to be plugged into power (obviously).

A View Of The Back Of The Right Satellite Speaker
The cables for the satellite speaks have four-pin, keyed connectors on each end, so they can only be installed one way, i.e. the correct way. The cables are color coded as well, to designate the left and right channels. Simply plug in the cables to their color matched receptacles, place them properly on your desk and the satellites are set up.

The Corsair SP2500 Control Pod
The control pod is similarly easy to install. The pod features a thick cable with a DB15 connector on one end. Simply screw it into the port on the back of the subwoofer and that’s it. The cable is 6 feet long, but we should note that a standard VGA extension cable can be used to extend it if the need arises.
With everything connected and powered up, the final step to configuring the Corsair SP2500 2.1 channel speaker system is telling Windows that you’re using a 2.1 channel speaker system. Any games you play will also need to be set to 2.1 channels or stereo output to ensure no details are lost.


