Thermaltake Level 10 Gaming Station Review
Exterior
"Rather than covering the expensive interior of the tower, Level 10 celebrates the ensemble of the individual modules by creating a unique component landscape." - Thermaltake
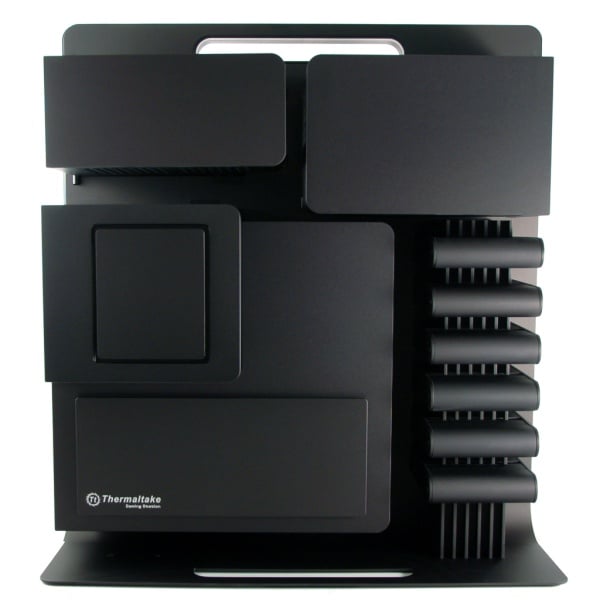
Thermaltake has consistently pushed the limits of computer enclosure design and the Level 10 is no exception. It is unlike any other case we have ever seen and an exciting step in the evolution of gaming towers. Instead of sharing the same space, each component has its own area with pronounced borders that aid in the dramatic effect of the product's architectural design.
Early photos of the Level 10 hinted at a shiny, acrylic looking chassis but Thermaltake decided to go a different route. The entire case is made of aluminum and painted matte black. The finish is mostly smooth with a hint of texture that reveals fingerprints if handled excessively. However, the included cleaning cloth works well to eliminate any markings to restore the product's appearance.
Above we see the front I/O ports and 5.25" drive bays. The case provides an On/Off switch, reset button, eSATA connector, microphone jack, headset connector, and four USB ports. There is also a strip of red LED lights that travel the length of the case along the top edge, from the rear to the front of the chassis and also below the I/O ports. The lights don't cycle in any way, but they remind us a little bit of KITT, the car from the TV series Knight Rider.
A look at the rear of the enclosure reveals a 120mm red LED fan, eight expansion slots, and openings for the motherboard I/O panel and power supply. There are several mounting holes available for different fan sizes if so desired. This angle also shows that the red LED's do not extend past the top edge of this area.
The side panel sports two security locks that must be opened in order to access the main components of the system. One keyhole is for the motherboard, power supply, and side panel. The other secures the optical drive bays and hard drive bays. Even with both of these locks opened, you still need to turn two thumb screws and slide out the side panel to access the system's cabling.


